Get Rid of Ads Using Pi-hole
I’m not sure if this is going to be enough for a blog post, because once I tried pi-hole’s installation I was surprised how simple it is. I’m ashamed of being putting forward this for so long.
What’s pi-hole
pi-hole is a DNS Sinkhole which effectively blocks DNS queries preventing browsers and mobile apps contacting ad services and malicious sites.
I’m aware of the intense debate about ads and how they support websites and mobile app development, but, I’ve an eight years old daughter who plays videogames on a tablet, and most of children focused games are less than a hook to display ads every action they made. I’ve been paying for AAA games for several years, and they are worth it, much more than the money-free ad-intensive crap that fills the play store.
Installing pi-hole
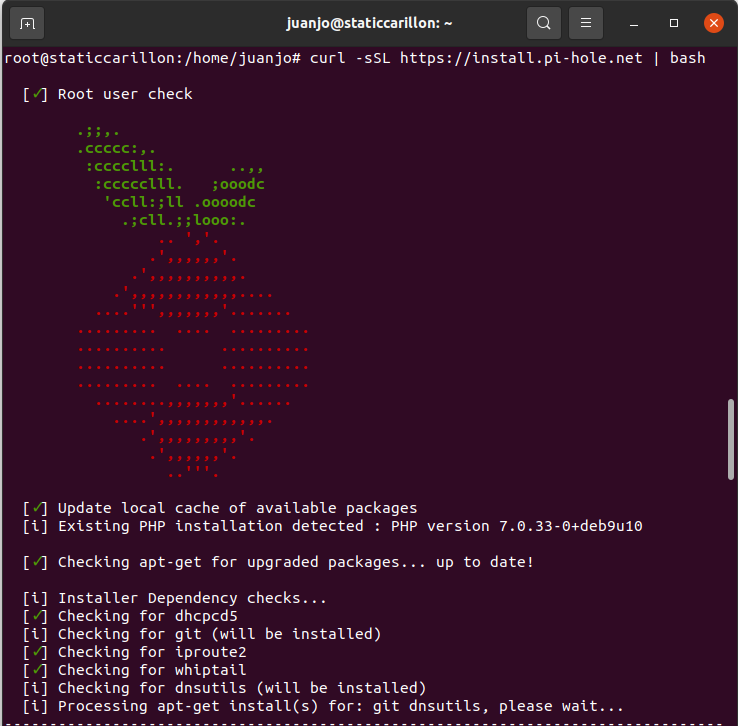
Installing pi-hole is a very simple, I ran the script as it was downloaded:
curl -sSL https://install.pi-hole.net | bash
I know some people have serious concerns about running shell scripts from internet, but, as it’s a text file, you can download it, review it, and I run it. I wonder why people is less concerned about downloading a binary file and run it or using an online installer, than running a shell script from internet.
I deployed pi-hole on my raspberry pi 3, which is running raspbian. I updated the system packages before starting the install, but the script searched for its dependencies and installed some packages.
I was asked which interface I wanted to use, and which DNS it should use for upstream name resolution, I set my router as DNS provider because I wanted to use my provider’s DNS servers.
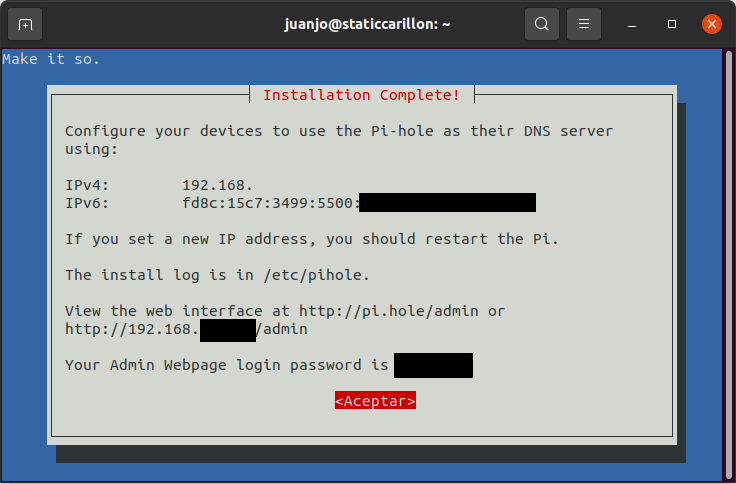
The installation finished in few seconds and I was shown a screen indicating the URL of the admin interface and the administrator’s password.
Then I configured my home router to announce the pi-hole address as the DNS server for the DHCP clients, and it started blocking ads on my daughter’s tabled as soon as I reconnected it to the WiFi network.
I also instructed my squid proxy instance to use it adding the following line to the squid.conf file then rebooting:
dns_nameservers PIHOLE_IP
The user interface
I logged into the web user interface and it looked nice and clean, with a dashboard with a lot of information displayed using fancy charts. And all of this on a mobile friendly interface.
After a couple of hours of having it running, I logged it again and I got surprised by what I found: half of the requests were blocked.
 .
.
You can use the interface to view the query logs and it has a useful Blacklist button to add custom domains to the block list, and the opposite with a Whitelist button.
One missing feature is changing the admin password using the web interface, it has to be changed from the command line using the pihole command.
DHCP Server
I didn’t try the DHCP server included on pi-hole, but the settings page looks as simple as in any router or in pfsense firewall, it can also be handy when wanting to deploy a simple DHCP server on a network.
Conclusion
Having a tool to block unwanted content is a must when you have children at home, and pi-hole provides an easy way to block content. If you have a Raspberry Pi or similar on you network acting as proxy, media server or download manager, I recommend you to also add this, not only for blocking ads, but to also block phishing sites or accidental malware downloads.